Admin Features
Team Management
This guide explains how to manage teams in the xAI Console, including creating teams, managing roles, and configuring settings.
Getting Started
When you sign up for xAI, you’re automatically assigned to a Personal Team, which you can view in the xAI Console.

You can use the xAI API immediately with your Personal Team. To collaborate with others, we recommend creating a new team and inviting your teammates (see below).
Team Structure
Teams are the level at which xAI tracks API usage, processes billing, and issues invoices.
- If you’re the team creator and don’t need a new team, you can rename your Personal Team and add members instead of creating a new one.
- Each team has roles:
- Admin: Can modify team name, billing details, and manage members.
- Member: Cannot make these changes.
- The team creator is automatically an Admin.
Managing Teams
Create a Team
- Click the dropdown menu in the xAI Console.
- Select + Create Team.
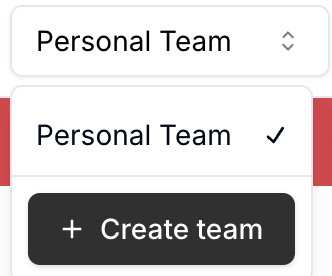
- Follow the on-screen instructions. You can edit these details later.
Rename or Describe a Team
Admins can update the team name and description on the Settings page.
Delete a Team
To permanently delete a team:
- Go to the Settings page.
- Follow the instructions under Delete Team.

Manage Team Members
Admins can add or remove members by email on the Users page.
- Assign members as Admin or Member.
- If a user is removed, their API keys remain with the team.
Advanced: Auto-Join with Domains
Admins can enable automatic team joining for users with a shared email domain:
- Go to the Settings page.
- Add the domain under Verified Domains.
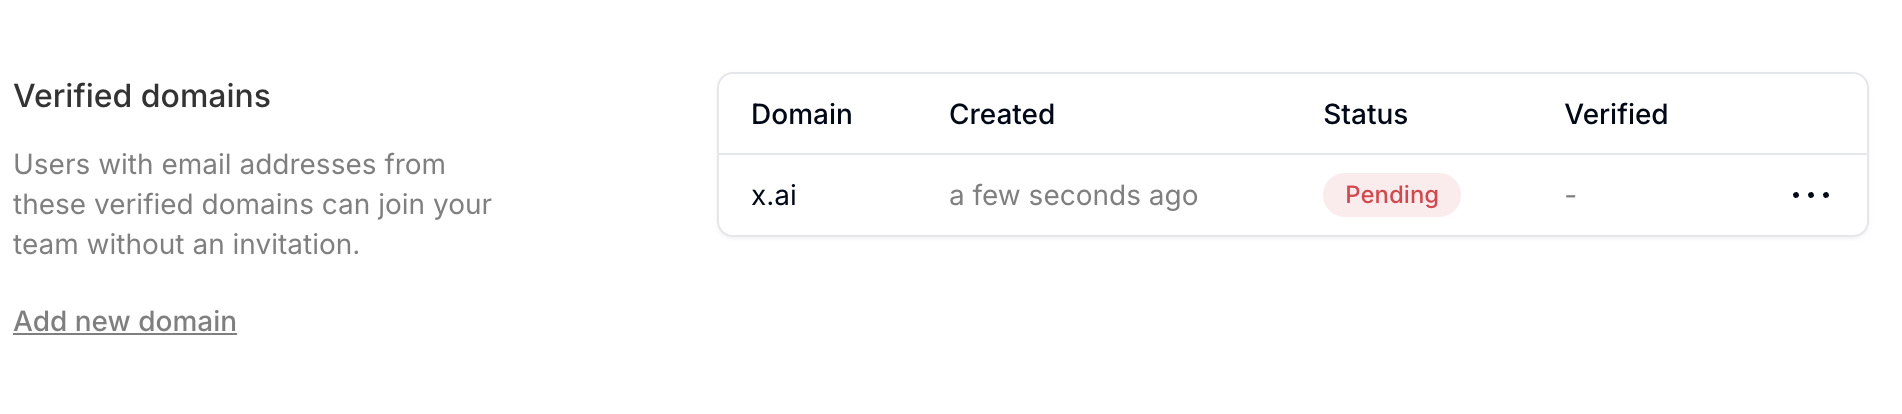
- Add a
domain-verificationkey to your domain’s DNS TXT record to verify ownership.
Users signing up with a verified domain email will automatically join the team.
This guide should help you manage teams effectively in the xAI Console. For further assistance, contact support.